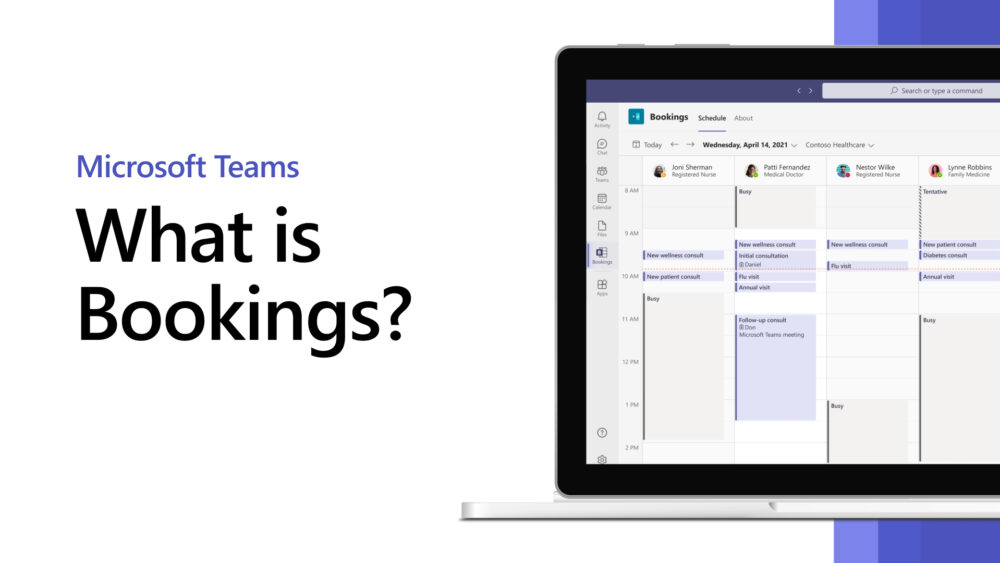
Save time when scheduling with Microsoft Bookings. Customize appointment details, booking requirements, and specify service providers to streamline the booking experience for you and your customers. Bookings is integrated with your Microsoft 365 calendar to help staff quickly find available times and avoid double-booking. With Bookings, you’ll spend less time scheduling and more time meeting.
Make your Microsoft Bookings meetings virtual with integration with Microsoft Teams. Every appointment booked as an online meeting creates a meeting link that everyone can join virtually from anywhere. Bookings is also available as an app within Teams to help you create calendars, assign staff, schedule new appointments, and meet without ever leaving Teams.
Microsoft Bookings has flexibility and customization options to fit a variety of scheduling needs across departments, individuals, and types of appointments. Create and manage multiple Bookings calendars, each with their own unique setup. Different calendars can have different page structures, information, staff, and types of appointments and communication.
Microsoft Bookings offers more options for your staff/colleagues when they visit your booking page, book an appointment, or get a confirmation email and calendar invitation. People who book an appointment online can easily reschedule or cancel it themselves to keep everyone in sync. If you prefer to book appointments for your customers, enter the appointment details in Bookings so they receive confirmations and reminders. With Bookings, it’s also easy to track all changes made to appointments.
Watch video > https://youtu.be/G2HOsM767Sw
To enable open your Teams App then add Bookings via the Apps option in left hand side menu (search Bookings then add/open)
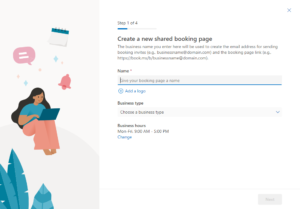
Follow the step by step prompts (see below)
- Click Create and setup your new shared bookings page
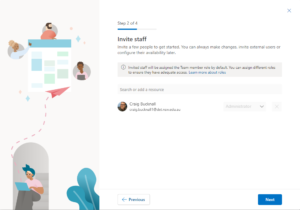
2. Invite Staff who will have options to book appointments with you.
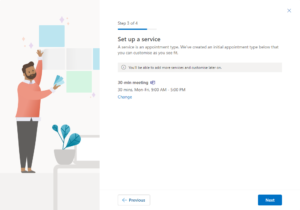
3. Setup your booking time service schedules of availability
4. Choose who can make bookings with you
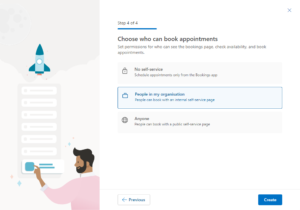
5. Click Create and you’re good to start accepting online bookings.


